| Pattern Machine 3D Rendering Options sartori-software.com 2010 all rights reserved |
||
|
||
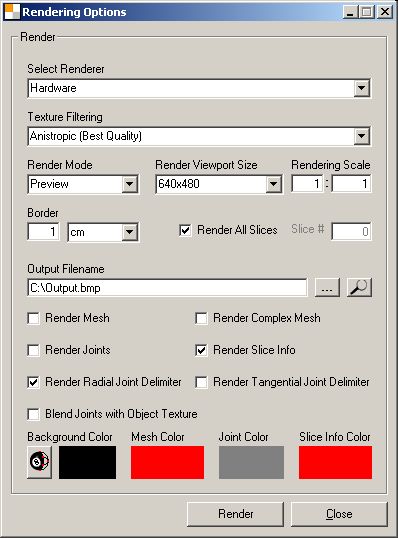
| The Rendering Options Dialog allows to set Rendering parameters, such as quality, scale, background color etc. | ||
|
Rendering Options Dialog
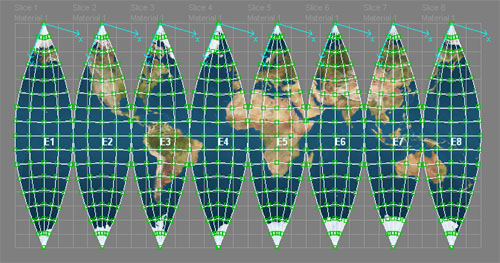
Slice Info Scheme
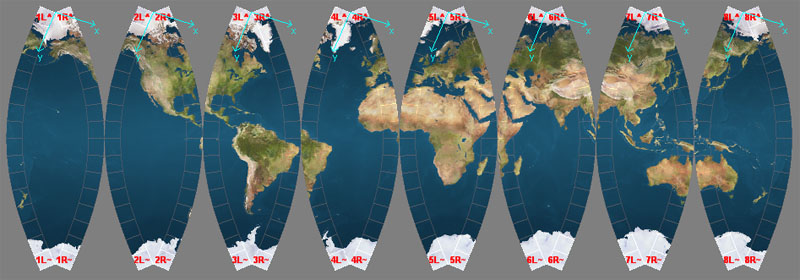
Slice Info Example
|
Select Renderer
Select appropriate Renderer from list. Hardware is recommended Texture Filtering Anisotropic is recommended Render Mode Render Viewport Size Rendering Scale Border Render All Slices Slice # Output Filename Render Mesh Render Complex Mesh Render Joints Render Radial Joint Delimiter Render Tangential Joint Delimiter Render Slice Info Blend Joints with Object Texture Background Color Mesh Color Joint Color Slice Info Color
|
| The Element View can be rendered in low quality to get an idea of how the final Rendering output will look | ||
|
Element Preview
|
|
| Rendering Previews are useful to view a medium sized fully textured slice preview | ||
|
||
|
Sphere Rendering Preview with Joints, Joint Delimiters and Slice info
|
||
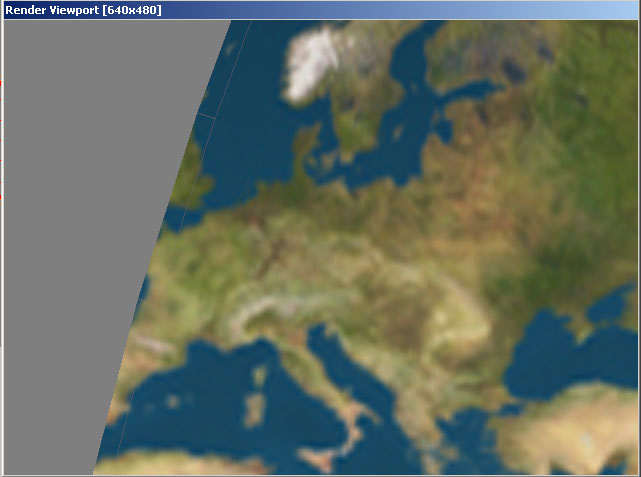
| Production Rendering is used to create very large sized, high quality Renderings of Elements | ||
|
||
|
Render Viewport (Frame Buffer) Slice #5 Rendering Scale 10:1
|
||